I’ve spoken and written often about using Excel to connect to SQL and other databases. Too often, IT gets caught up in a latest and greatest tool debate, but when it gets down to the results, your CxO’s and worker bees just look at you and say… “But I want it in Excel”. So, this is How to Connect to SQL from Excel… it’s really quite simple.
First off, you’ll need access to a SQL database. While you most likely have access to SQL/SSMS, for the demonstration you can install SQL Express on your local PC. The download is available from Microsoft. If you already have SQL, that saves a step.
Next, we recommend testing with a sample database, such as Adventure Works. You may have used this in classes and it is available for a quick download at sites such as GitHub. We won’t go into the details here, but you should get Adventure Works installed and be able to run SSMS (SQL Server Management Studio). You must have this working with proper access to proceed.

Connecting to SQL from Excel only takes a couple of minutes. You need to start SSMS to get the name of your server. You’ll see the name of the database right at the top of Object Explorer (the left navigation), and we have highlighted an example here. You need this to do the connection from Excel.

Start a new spreadsheet, then from the top ribbon click “Data”, then “From Other Sources” and then “From Microsoft Query”. Depending on your version of Excel, it should look something like this image.

A window will pop up for you to choose a data source. Click “<New Data Source>”. Now you enter information to access the data.
- Give your data Source a name that’s meaningful. You won’t need to add this every time, just once.
- Select the SQL Server driver, then click OK.
- Hand Type the name of the server you saw in SSMS. While there is a pull down, it never seems to work for us. Caution, if you make a typo, it will spin for a few minutes.
- The connection supports windows and SSMS authentication. Use whatever you set up, but for this demo we used Windows Authentication.
- Finally select the data base (go ahead and use the pull down this time) and optionally the language, then “OK” and “OK”.

You should be brought back to the screen to select a Data Source and see your new source.
Un-click the “Use the Query Wizard…”. I personally never use it and really don’t like it.
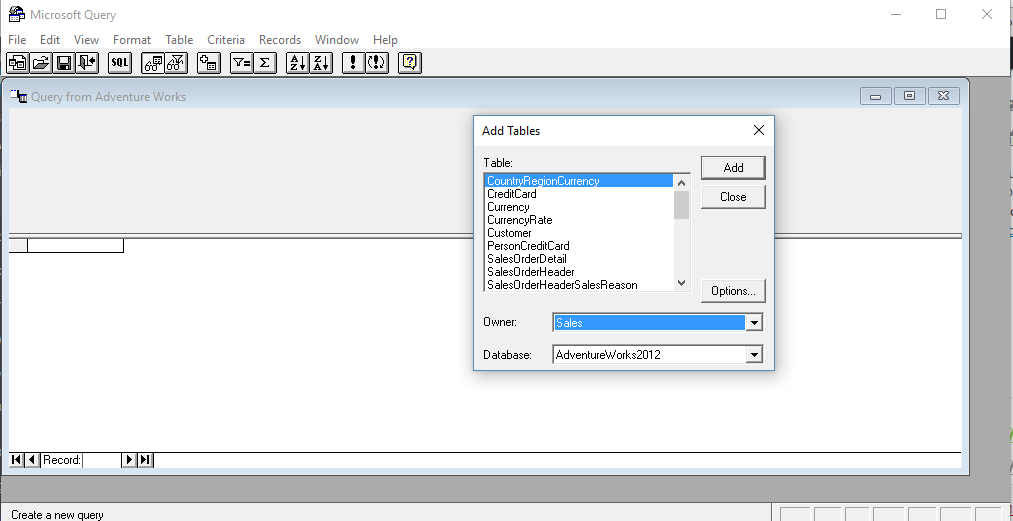
Once you click the Data Source Name, you will see the MS Query window and can begin creating your first report! That’s it! That’s How to Connect to SQL from Excel!
Now you are ready to Create Your First SQL Report In Excel!